
TEXTILE PRINTING: Techniques, Processes, and Common Mistakes
TEXTILE PRINTING
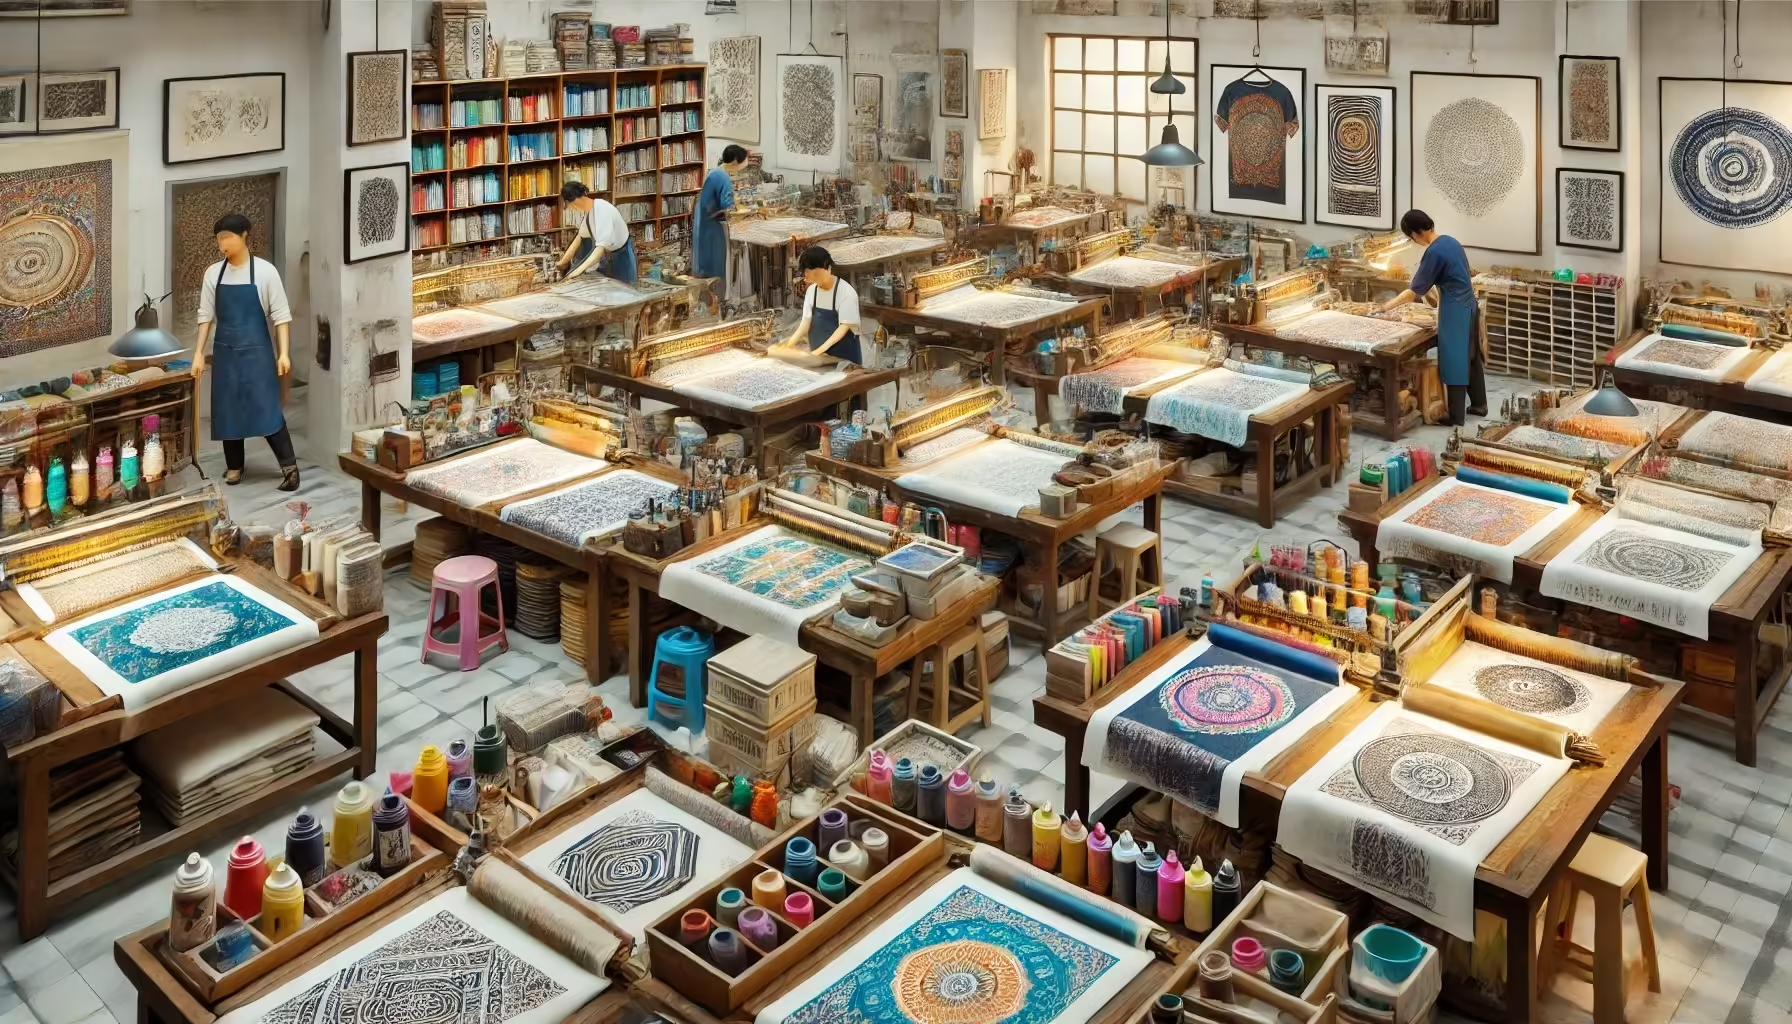
Textile printing transforms plain fabrics into vibrant, patterned works of art. This intricate process involves applying colour to fabric in specific patterns or designs, binding the colour with the fiber to resist washing and friction. Unlike dyeing, which uniformly covers fabric with one colour, printing selectively applies colour to specific parts of the fabric, creating detailed and varied designs. This blog explores various methods of textile printing, their processes, and common mistakes to avoid to ensure high-quality results.
BLOCK PRINTING
The Process
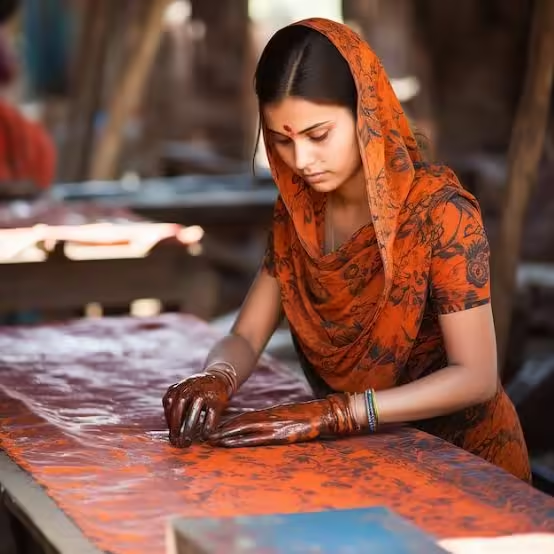
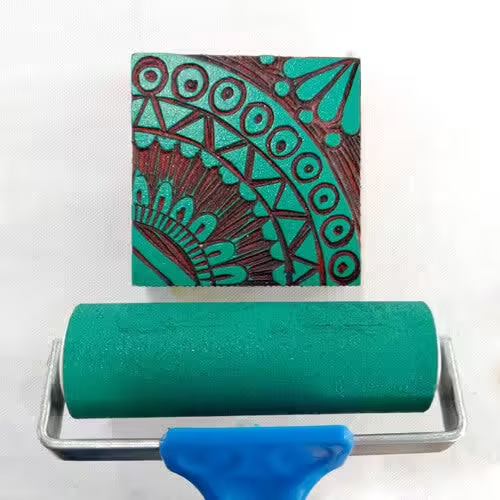
Block printing, one of the oldest methods of textile printing, involves using wooden blocks with hand-carved designs that stand out in relief. The print paste is applied to the raised design on the block, which is then pressed against the fabric. This process is repeated with different designs and colors until the pattern is complete.
Advantages and Limitations
Block printing is prized for its unique, intricate designs and artisanal quality. However, it is a slow and labor-intensive process, making it unsuitable for high-volume commercial use. The handmade nature of block printing also means that each piece can have slight variations, adding to its charm but potentially causing inconsistency in larger orders.
Common Mistakes
1. Uneven Pressure: Applying uneven pressure can result in incomplete or blurry prints. Consistent, even pressure is crucial for clear, sharp designs.
2. Misalignment: Each block must be precisely aligned to ensure the pattern flows seamlessly. Misalignment can disrupt the overall design.
3. Ink Application: Too much or too little ink can affect the print’s quality. The block should have an even coating of ink without dripping or dry spots.
SCREEN PRINTING
The Process
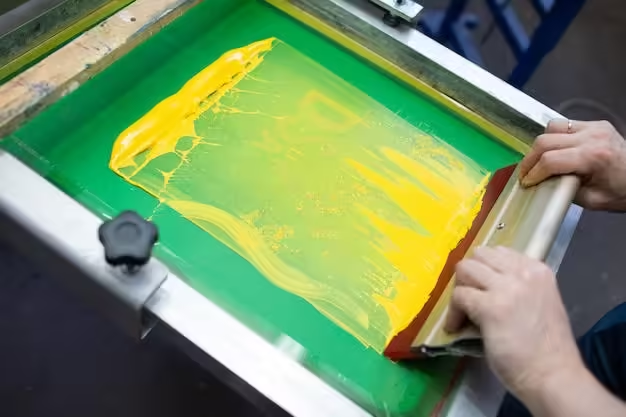
Screen printing involves using a mesh screen to transfer ink onto a substrate, except in areas blocked by a stencil. A blade or squeegee moves across the screen, filling the open mesh apertures with ink. As the screen touches the substrate, the ink wets the fabric and is pulled through the mesh apertures.
Advantages and Limitations
Screen printing is versatile and suitable for both small and large production runs. It allows for vibrant, multi-coloured designs, but each colour requires a separate screen, which can increase costs and setup time.
Common Mistakes
1. Screen Misalignment: Misaligned screens can cause color overlap or gaps in the design. Proper registration is key to maintaining alignment.
2. Ink Bleeding: Using too much ink or the wrong type of ink for the fabric can cause bleeding, resulting in blurred edges.
3. Screen Clogging: Screens can become clogged with dried ink, affecting print quality. Regular cleaning and maintenance are essential.
ROLLER PRINTING
The Process
Roller printing uses engraved rollers to transfer color onto fabric. Each color has a separate roller, which rotates over the fabric under pressure against an iron pressure roller. This method allows for high-speed printing of up to a dozen colors simultaneously.
Advantages and Limitations
Roller printing is ideal for long production runs due to its speed and efficiency. It can produce intricate, multi-coloured designs, but the setup cost for engraving rollers can be high.
Common Mistakes
1. Roller Wear: Worn or damaged rollers can affect the print’s quality. Regular inspection and maintenance are necessary.
2. Colour Misregistration: Misaligned rollers can cause colours to overlap or leave gaps. Precise alignment is crucial.
3. Ink Distribution: Uneven ink distribution can result in patchy prints. Ensuring consistent ink flow is essential.
HEAT TRANSFER PRINTING
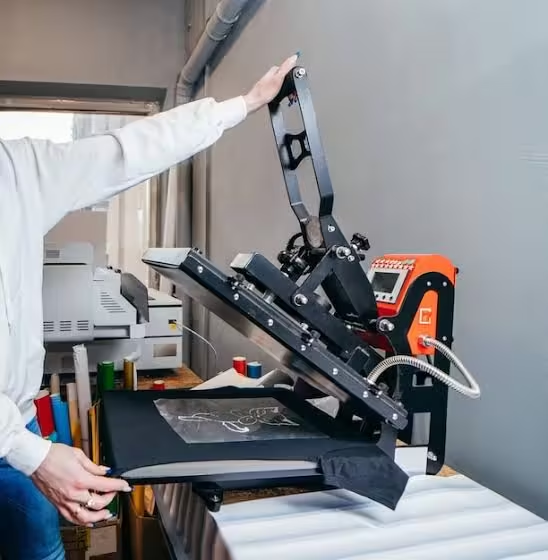
The Process
Heat transfer printing involves transferring a design from special paper to fabric using heat. The design is initially printed on the paper using conventional printing machinery. The paper is then placed in close contact with the fabric and heated, causing the dye to sublimate and transfer to the fabric.
Advantages and Limitations
Heat transfer printing is versatile and can produce detailed designs with multiple colors. It is suitable for small and medium production runs but may not be as durable as other methods, as the print can fade or crack over time.
Common Mistakes
1. Incorrect Temperature: Using the wrong temperature can cause incomplete transfers or damage the fabric. Following the recommended settings is crucial.
2. Insufficient Pressure: Applying insufficient pressure during the transfer process can result in incomplete or uneven prints.
3. Poor Paper Quality: Using low-quality transfer paper can affect the print’s clarity and durability. Investing in high-quality paper is essential.
DIGITAL TEXTILE PRINTING
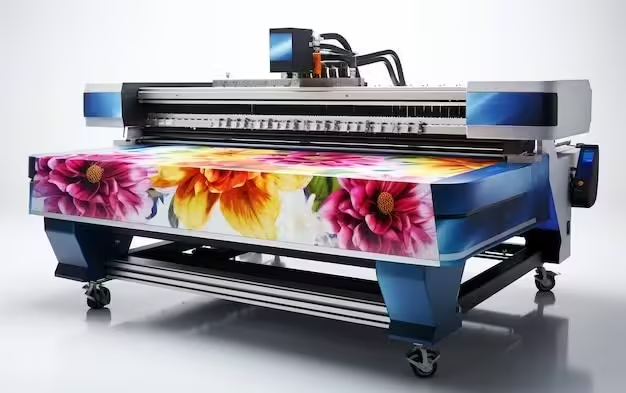
The Process
Digital textile printing, also known as direct-to-garment printing (DTG), uses specialized or modified inkjet technology to print directly on textiles and garments. This method allows for detailed, high-resolution designs.
Advantages and Limitations
Digital textile printing offers flexibility and precision, making it suitable for custom, on-demand printing. It is cost-effective for small production runs but may not be as efficient for large-scale printing due to slower speeds.
Common Mistakes
1. Fabric Compatibility: Not all fabrics are suitable for digital printing. Choosing the right fabric is essential for achieving high-quality prints.
2. Ink Absorption: Some fabrics may not absorb the ink well, leading to faded or uneven prints. Pre-treating the fabric can improve ink absorption.
3. Printer Maintenance: Regular maintenance of the printer is crucial to prevent clogs and ensure consistent print quality.
BURNOUT PRINTING
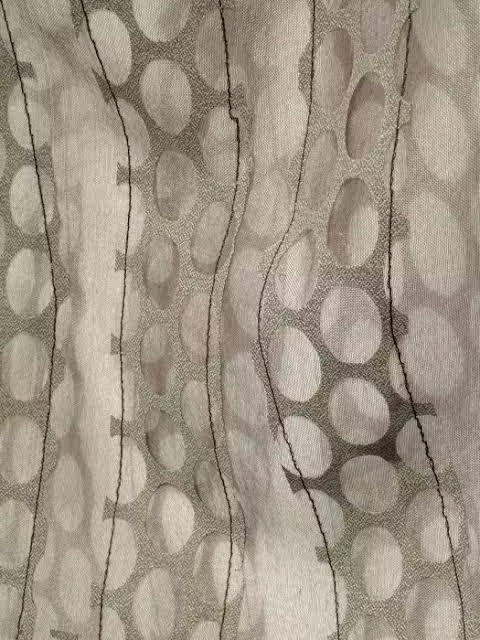
The Process
Burnout printing creates a raised design on a sheer ground by applying a special chemical to a fabric made of pairs of threads of different fibers. One of the fibers is locally destroyed by chemical action, resulting in a textured pattern.
Advantages and Limitations
Burnout printing produces unique, textured designs and is often used on velvet. However, the process can weaken the fabric, making it less durable.
Common Mistakes
1. Chemical Application: Uneven application of the chemical can result in inconsistent designs. Precision is key.
2. Fabric Damage: Excessive chemical use can damage the fabric. Using the correct amount is crucial.
3. Safety Precautions: Proper safety measures must be taken when handling chemicals to avoid health risks.
DISCHARGE PRINTING

The Process
Discharge printing is performed on piece-dyed fabrics by removing colour to create patterns. This method is often used on dark backgrounds, where the design appears lighter after the dye is removed.
Advantages and Limitations
Discharge printing can produce intricate designs with a soft feel, as the process removes the dye rather than adding a layer of ink. However, it is limited to fabrics that react well to the discharge agents, typically cotton or other natural fibers.
Common Mistakes
1. Incomplete Colour Removal: If the discharge agent is not applied evenly, it can result in incomplete colour removal, leading to patchy designs.
2. Fabric Damage: Overuse of discharge agents can weaken the fabric. It’s important to use the correct amount and handle the fabric carefully.
3. Health Risks: Discharge agents can be hazardous, requiring proper handling and safety measures to protect workers.
Textile printing offers a wide range of techniques to create beautiful and intricate fabric designs. Each method has its own advantages, limitations, and potential pitfalls.
By understanding the processes and common mistakes associated with each technique, you can achieve high-quality, consistent results in your textile printing projects.
Whether you are a hobbyist or a professional, paying attention to detail and adhering to best practices will help you avoid common errors and produce stunning printed fabrics.


